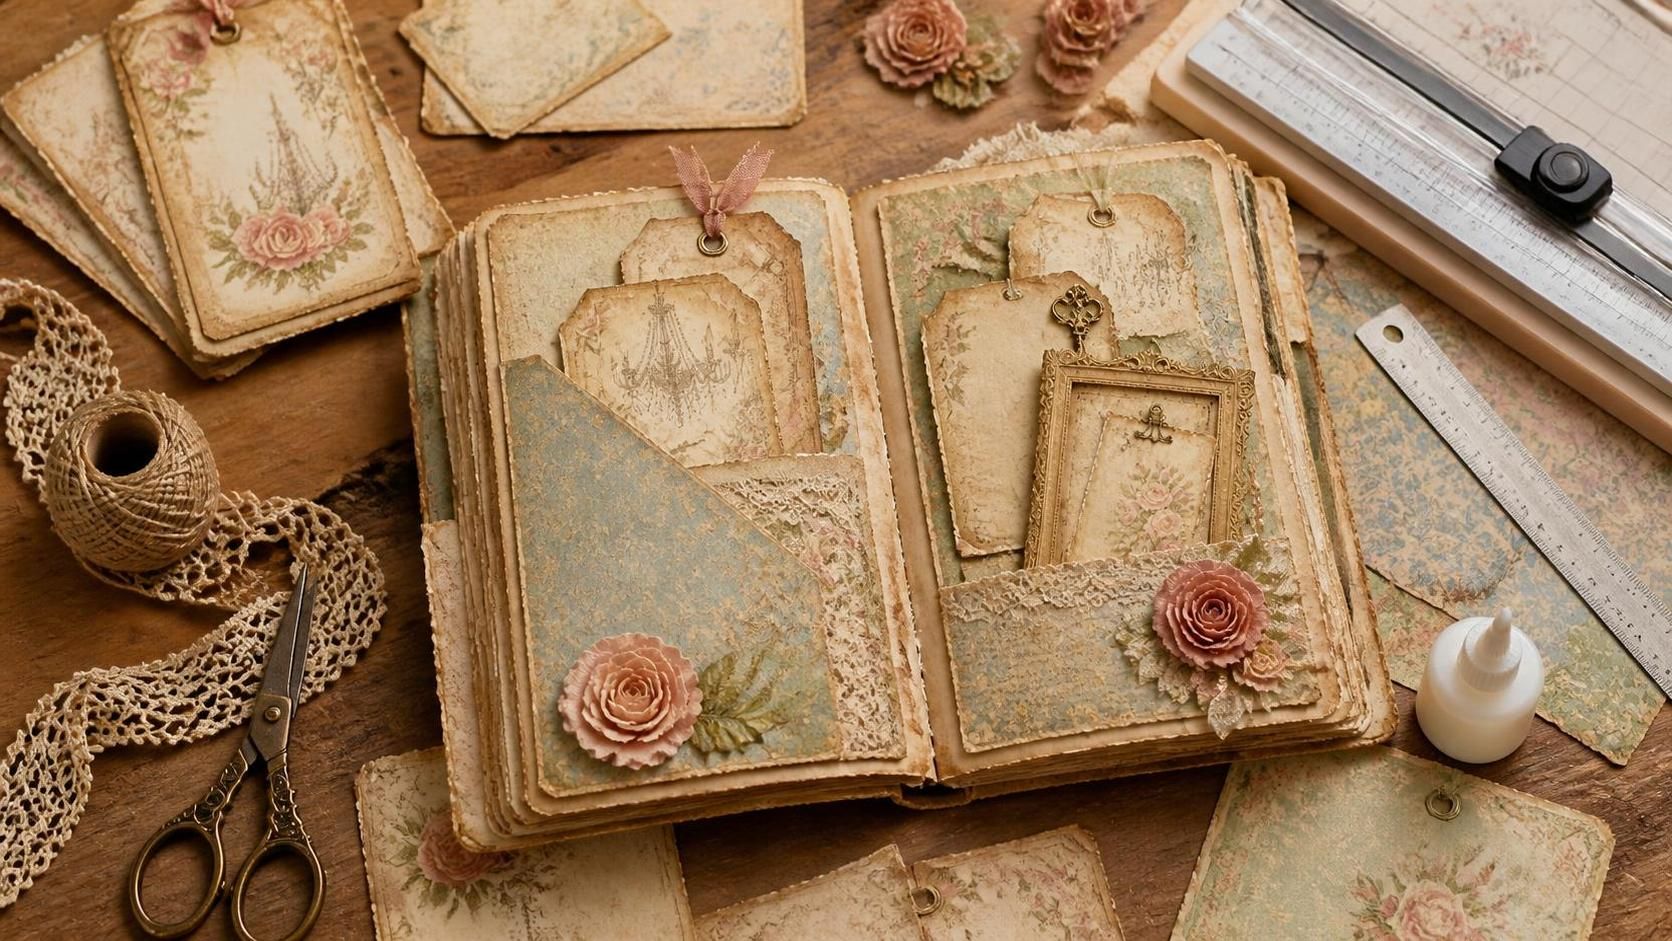
Printable kits are one of the easiest ways to add beautiful details to a junk journal, scrapbook, planner or handmade memory book. With a printer, paper, scissors and a few basic supplies, you can create pockets and tags that look layered, decorative and professionally designed.
Pockets are ideal for storing notes, photographs, receipts, tickets and journaling cards. Tags can become page decorations, gift embellishments, bookmarks or extra writing space. Because all the pieces in a printable kit share the same colours and theme, you can create a coordinated collection without designing every element from scratch.
1. Gather Your Supplies
Before beginning, collect the tools and materials you will need:
- A printable pocket and tag kit
- A printer and suitable paper
- Scissors or a paper trimmer
- A craft knife, ruler and cutting mat
- Glue, double-sided tape or a glue stick
- A single-hole punch
- Ribbon, lace or twine
- Optional corner rounder, distressing ink and bone folder
Choose paper that suits the purpose of each piece. Standard printer paper can work for lightweight pockets, while 120–200 gsm cardstock produces sturdier tags and envelopes. Matte paper is often the most practical option because it prints clearly, accepts adhesive well and is easier to write on than glossy paper.
2. Print the Kit Correctly
Open the printable kit on your computer and check its page size before printing. Most files are designed for either US Letter or A4 paper, so select the matching size in your printer settings.
For accurate results, choose 100% scale or Actual Size. Avoid “Fit to Page” unless the instructions specifically require it, as this setting can slightly reduce the design and change how pieces fit together.
Print one test page first and check the colours, margins and proportions. If the design looks too pale, select a higher-quality print mode. Allow inkjet prints to dry completely before cutting so the ink does not smudge or transfer.
3. Cut and Assemble the Pockets
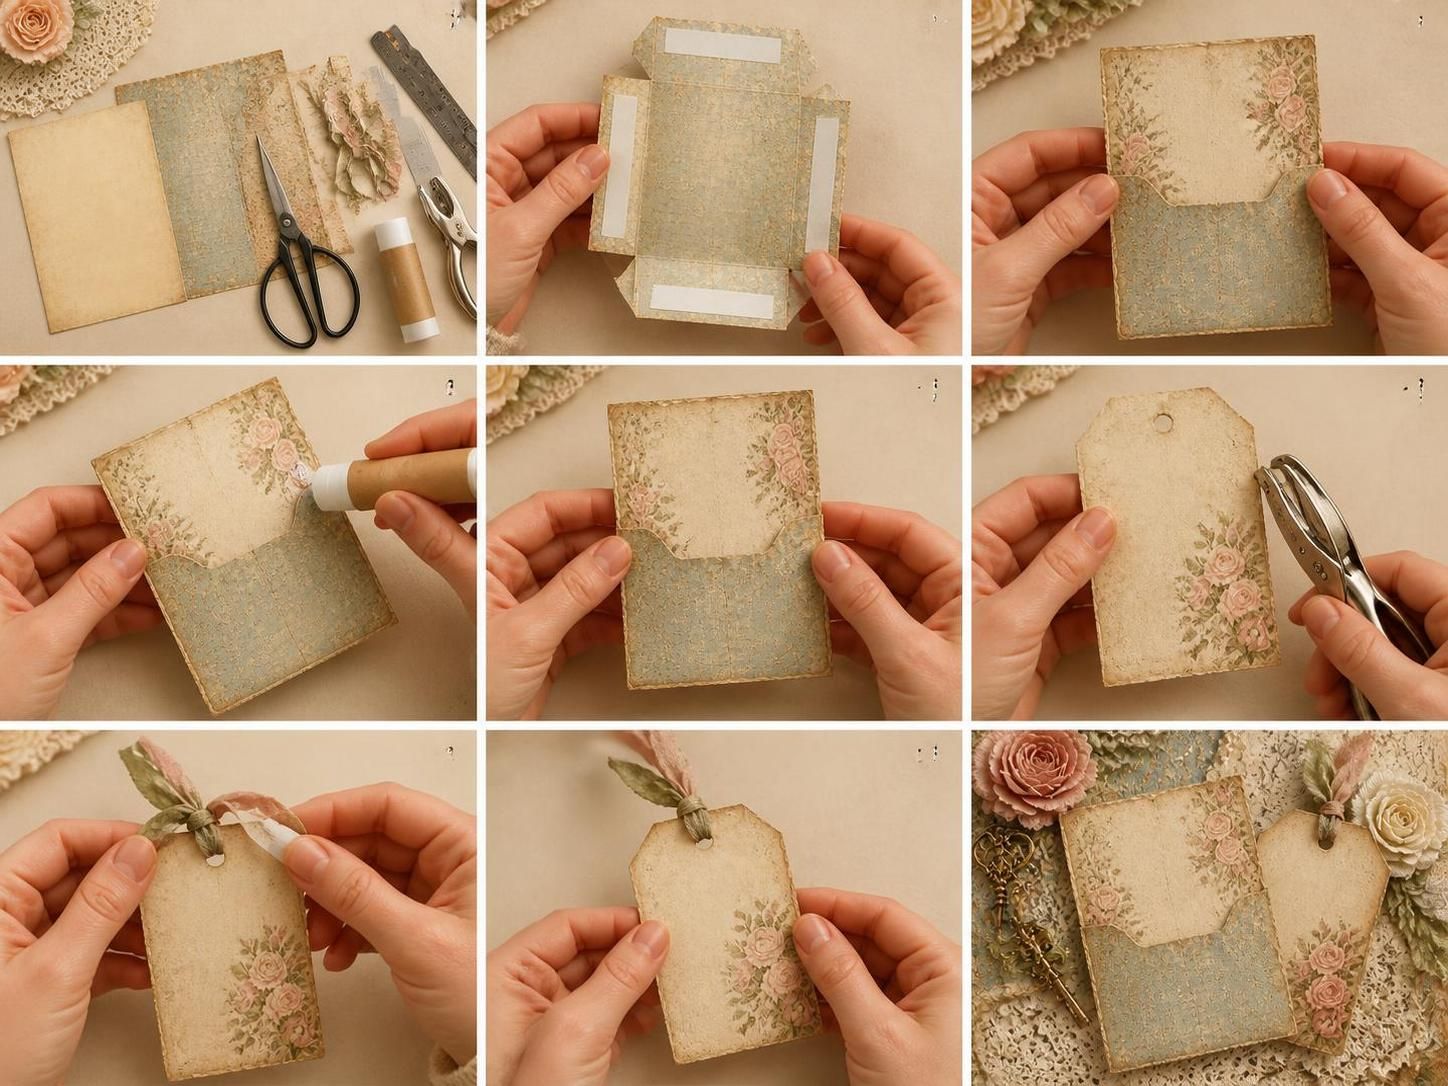
Cut carefully around the outer lines using scissors or a paper trimmer. A ruler and craft knife can give long straight edges a particularly clean finish.
If the pocket includes side or bottom tabs, score the fold lines gently with a bone folder, then fold each tab inward. Scoring creates a neater crease and helps prevent thicker paper from cracking.
Apply glue or a narrow strip of double-sided tape to the tabs only. Keep adhesive away from the opening, then attach the pocket to the journal page with the top edge left open. For pockets that will hold heavier pieces, reinforce the back with cardstock or use strong double-sided tape.
You can place a standard pocket directly on a page, turn a small piece into a corner tuck spot, or attach a side-loading pocket along the outer edge. Before gluing, test the position with a tag or card to make sure it can be inserted and removed comfortably.
4. Add Decorative Details
A few lightweight embellishments can make a simple pocket feel special. Blend a little brown or grey ink around the edges for a vintage appearance, or add lace, washi tape, buttons, paper flowers and narrow strips of patterned paper.
For a layered look, attach a smaller label, botanical image or postage-style detail to the front. A tiny bow or paper tab can be both decorative and functional. Keep bulky embellishments to a minimum if the pocket is attached to a thin journal page.
5. Make the Tags
Cut around each tag, then round the corners if desired. Punch the marked hole carefully with a single-hole punch.
To prevent tearing, add a small reinforcement to the front and back of the hole. You can use a reinforcement sticker, a punched paper circle or a small piece of coordinating cardstock.
Thread ribbon, lace, baker’s twine or narrow fabric through the hole and finish it with a knot, bow or simple loop. If the tag is printed on only one side, mount it on cardstock or add blank paper to the back for journaling. This also makes the finished tag more durable.
6. Use Pockets and Tags in Your Journal
Place a pocket inside the front cover for loose notes, use a tag as a writing prompt, or tuck several small tags into a larger decorative pocket. Pockets can hold photographs, favourite quotes, recipes, tickets and private journaling. Tags also work beautifully as bookmarks, gift labels, page dividers and hidden messages.
Mix sizes and shapes to create visual interest. A large pocket holding two smaller tags can become a focal point, while a tiny tag peeking from behind a journaling card adds a delightful surprise.
Turn Simple Pages Into Useful Keepsakes
Making pockets and tags from printable kits is an affordable, satisfying way to personalise handmade journals. Careful cutting, neat folds and a few thoughtful details can transform flat printed designs into practical pieces you will enjoy using.