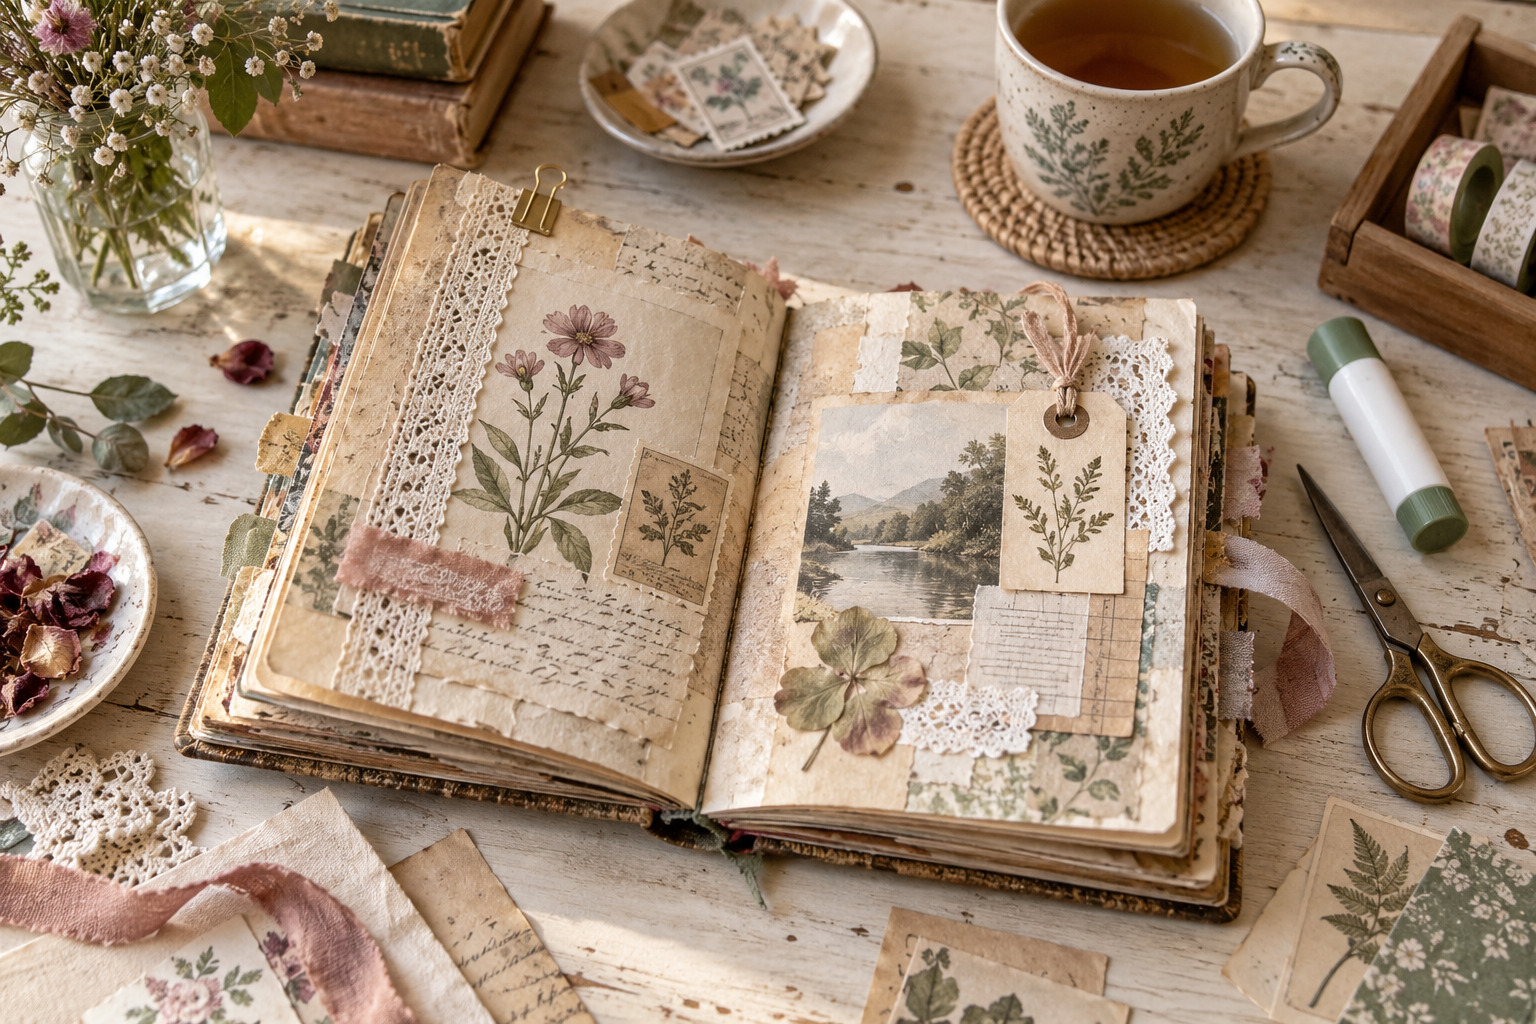
There is a unique thrill in finding the perfect digital journal kit, downloading the files and sending them straight to your printer. Whether you are assembling a vintage botanical diary or a richly textured junk journal, printable kits offer limitless creative freedom.
But that freedom often meets one practical challenge: the paper you choose can make or break the finished project. A deeply saturated design printed on cheap copy paper may buckle, show muddy colours or feel more like an office handout than a handmade keepsake. The right paper helps digital files become crisp, durable and professional-looking pages.
Understanding Paper Weight
Paper weight is usually measured in pounds (lb) or grams per square metre (gsm). The best choice depends on whether you are printing flexible journal pages or sturdy interactive pieces.
Standard copy paper
Useful for text documents, test prints and simple templates, but generally too thin for finished journal pages. Heavy ink coverage can make it buckle, and markers or distress inks may bleed through.
Premium presentation paper
The sweet spot for most journal pages. It is thicker and smoother than copy paper, handles double-sided printing with less show-through and remains flexible enough to fold into signatures and sew into a binding.
Light to medium cardstock
Best for sturdy tags, journaling cards, tuck spots, pockets and other interactive elements. Always check your printer’s maximum supported paper weight before loading heavier cardstock.
Matte or Glossy?
The paper finish affects both the printed image and how the sheet behaves while you craft.
Glossy photo paper can produce vivid colour, but it is often awkward in a junk journal. Liquid adhesive may dry slowly, everyday pens may not write cleanly on it, and the surface resists distress inks and other ageing techniques.
Coated matte paper is an excellent all-round choice for printable journaling. Instead of allowing ink to sink deeply into the fibres, the coating helps keep details crisp and colours rich. This is especially helpful for dark or highly detailed designs that might look dull or over-saturated on ordinary uncoated paper.
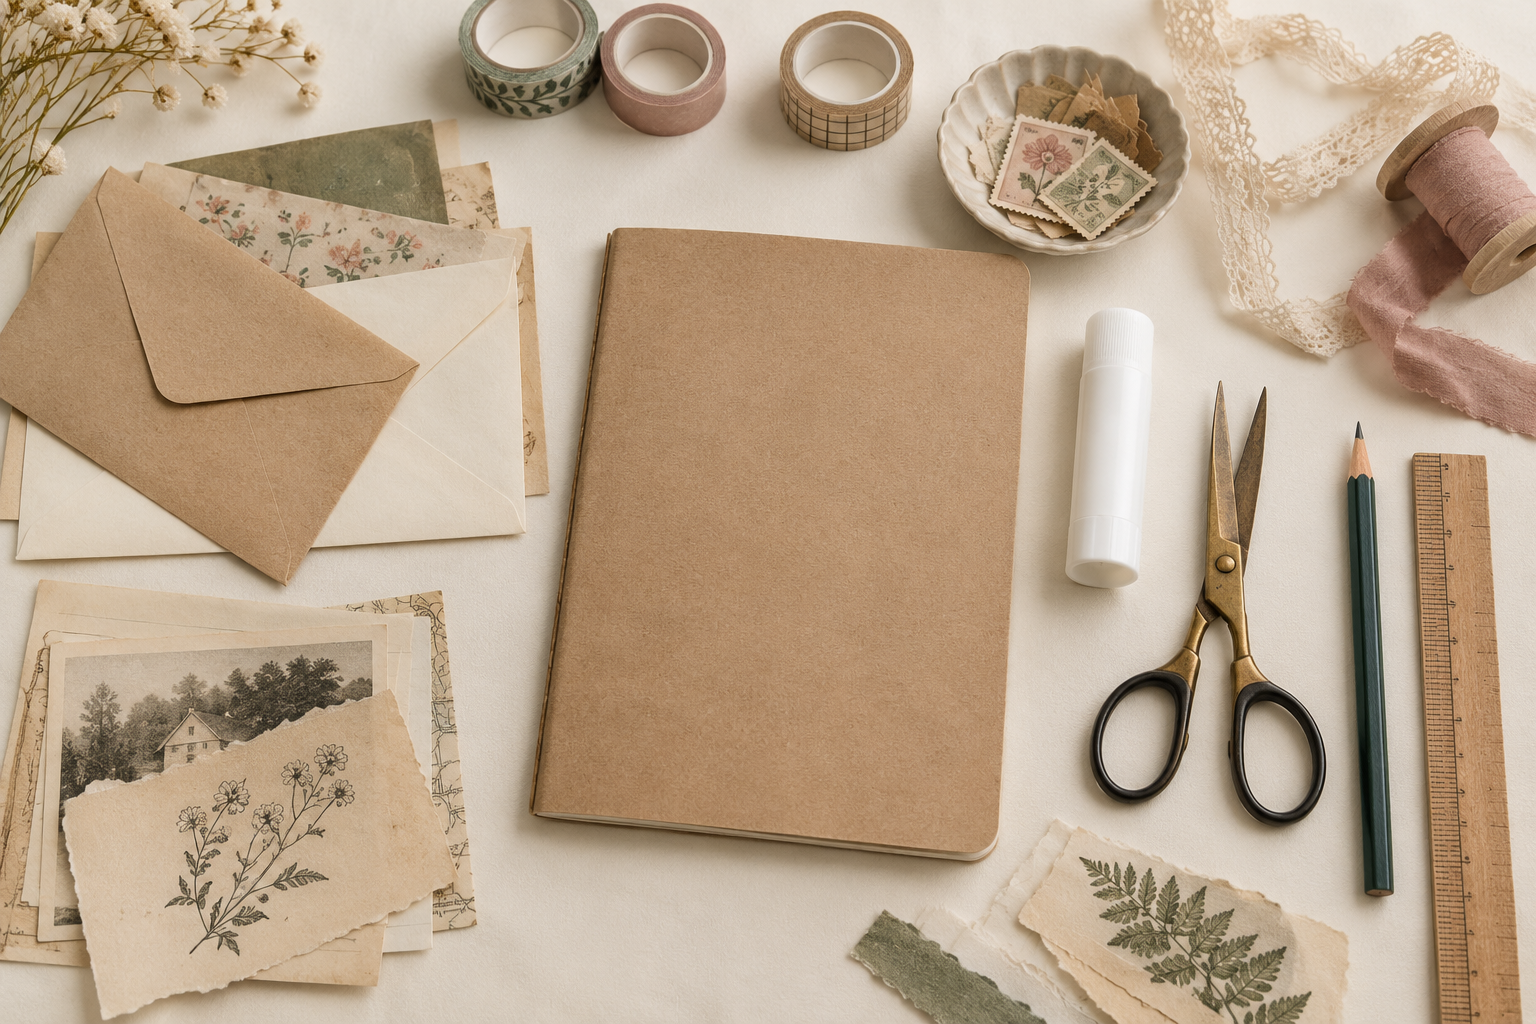
The Secret to Better Folds: Paper Grain
Paper fibres align in a particular direction during manufacturing. Folding parallel to the grain creates a smoother crease; folding against it can crack the surface, especially on thick paper with dark ink coverage.
Many letter-size cardstock sheets are grain long, with fibres running parallel to the 11-inch edge. If you fold the sheet in half to make a 5.5 × 8.5-inch journal page, you may be folding against the grain.
To reduce cracking, gently score the fold line with a scoring tool or bone folder before creasing. Scoring is most important for cardstock, but it can also give presentation-paper pages a cleaner, more professional finish.
Build a Simple Paper Arsenal
You do not need a huge supply cupboard. Two dependable papers can cover nearly every printable-journal project:
- For core pages: high-quality 28 lb or 32 lb matte presentation paper for flexible signatures, good colour and manageable spine bulk.
- For ephemera: 65 lb white or cream matte cardstock for fussy cuts, journaling cards, tags, tuck spots and layered pockets.
Before printing an entire kit, test one detailed page using your printer’s “best” or “high quality” setting. Allow it to dry fully, fold it and try writing on the reverse. This small test can save paper, ink and frustration.
Let the Project Guide Your Paper
Creating a handmade journal from digital files is a labour of love. By matching the weight and finish to each element, you can create a book that feels just as magical as the artwork that inspired it.
Explore printable journal kits →