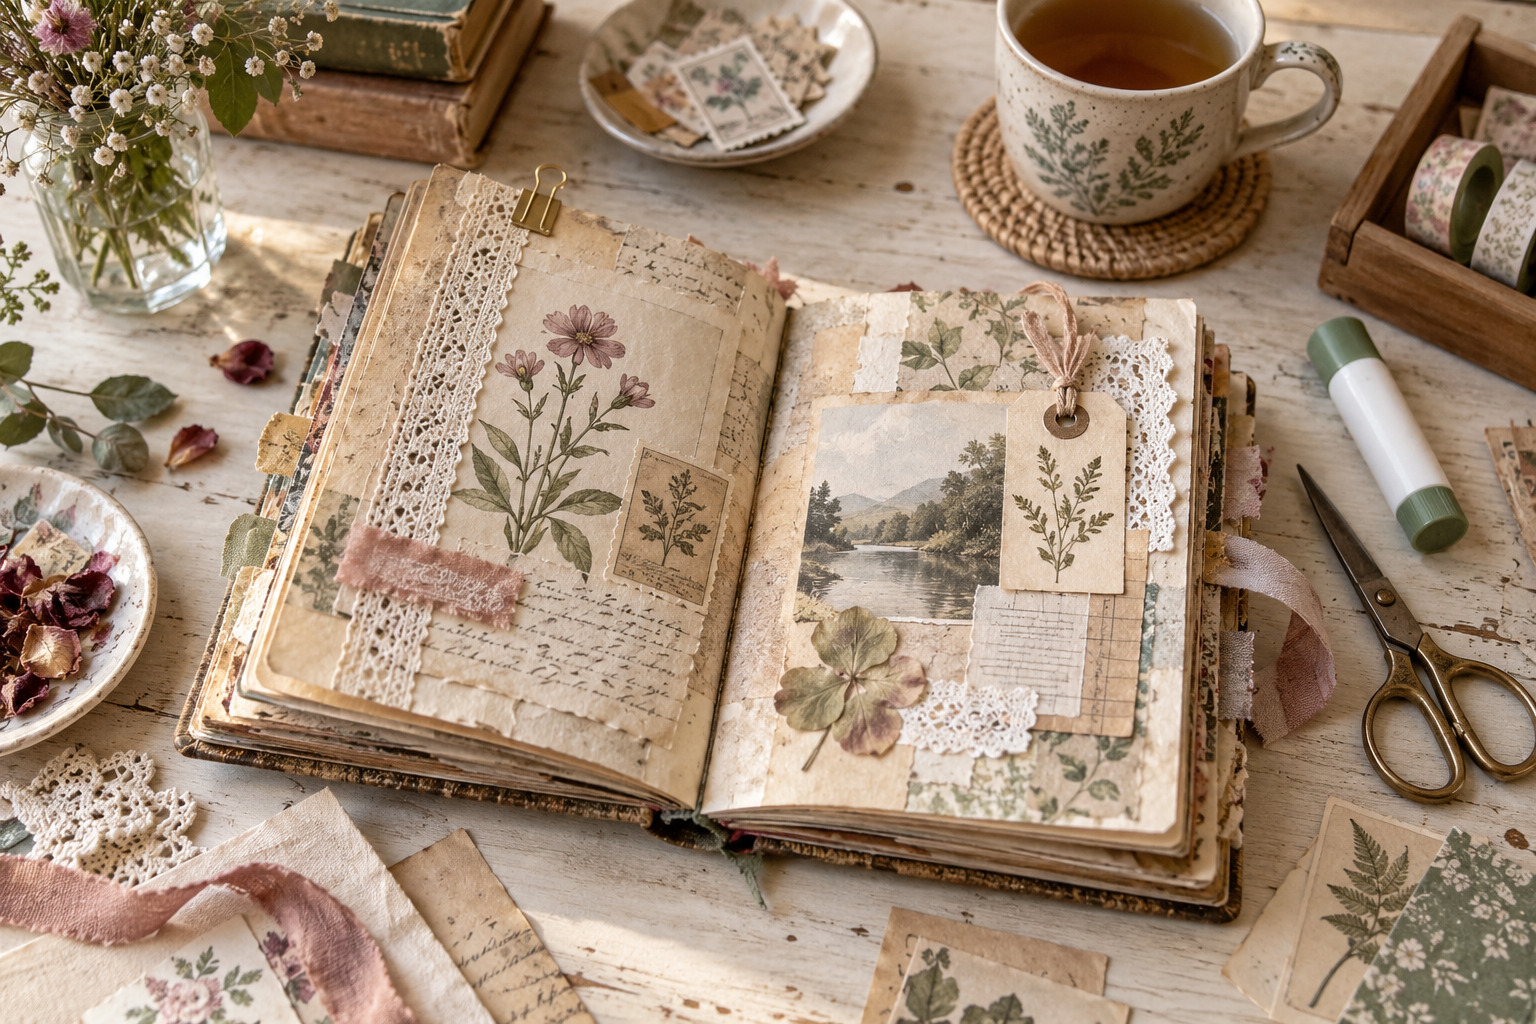
Junk journaling is a wonderfully relaxed way to combine writing, paper crafting, memory keeping and creativity. Unlike traditional journaling, there are very few rules. Your journal can include vintage papers, photographs, receipts, fabric, envelopes, printable pages and almost anything else that tells a story.
If you are new to junk journaling, the number of supplies and techniques can feel overwhelming. The good news is that you do not need an expensive collection of materials to begin. Start simply, experiment and allow your journal to develop naturally.
1. Decide What Your Journal Will Be About
Before choosing supplies, think about the purpose of your journal. Would you like to create a personal diary, travel journal, reading journal, botanical notebook or vintage-themed keepsake?
You do not need a complicated theme, but having a general direction makes it easier to select coordinating papers and decorations. Choose a subject that genuinely interests you rather than following a trend you do not enjoy.
2. Begin With Basic Supplies
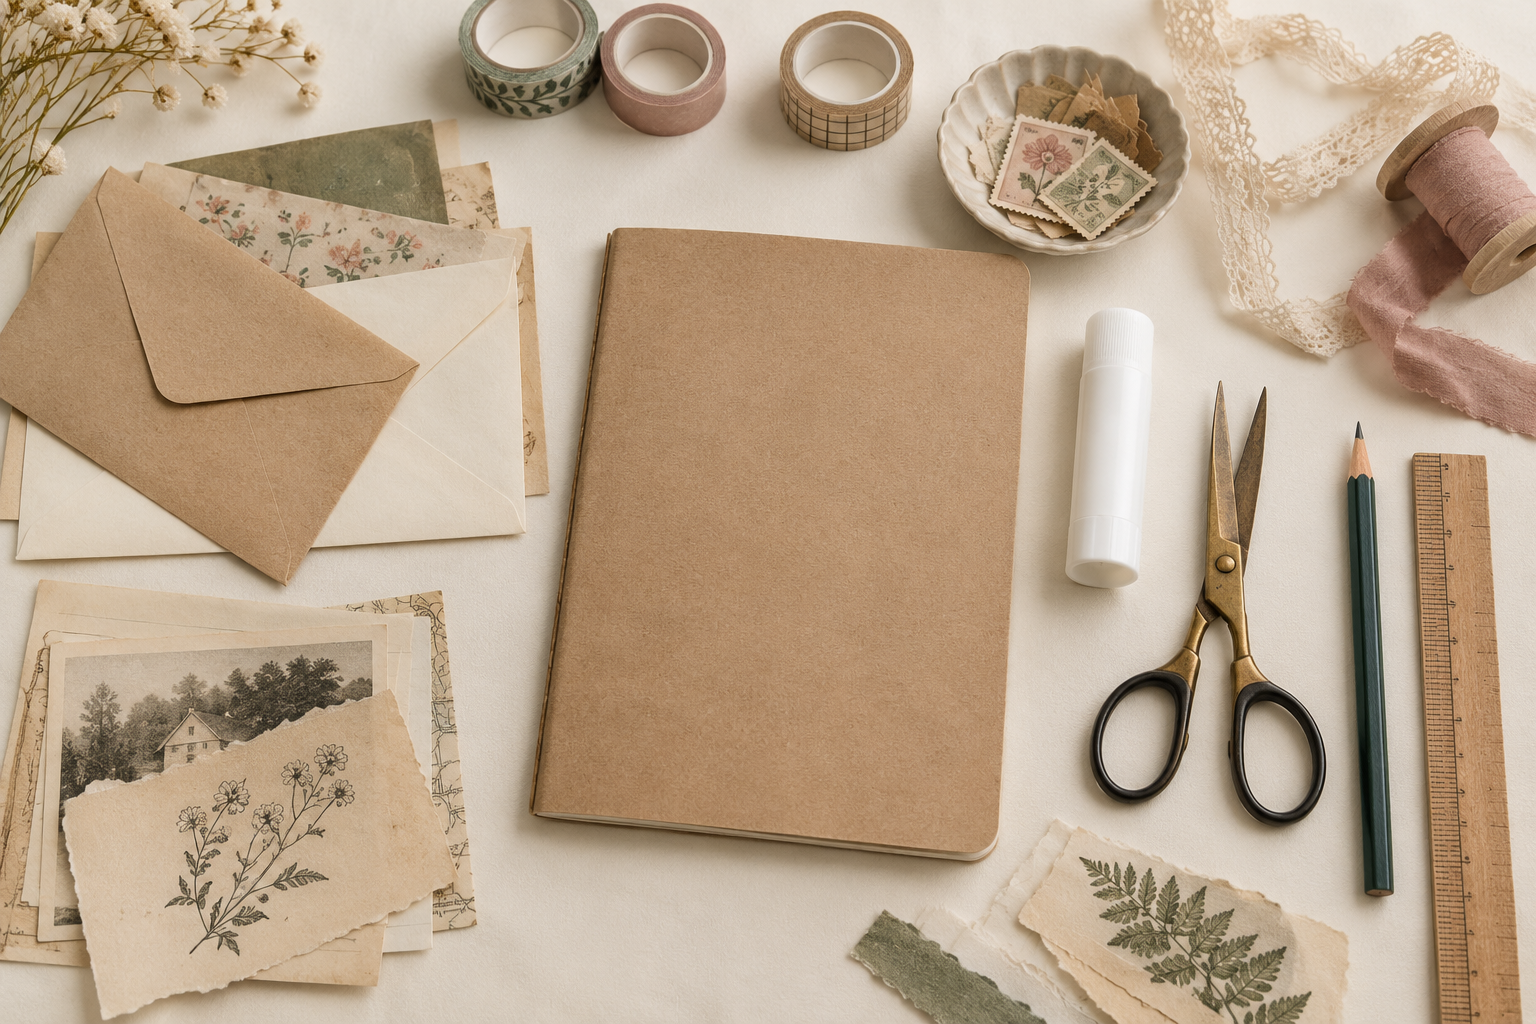
A basic junk-journaling kit only needs a few items:
- A blank notebook or handmade journal
- Scissors
- A glue stick or paper-safe adhesive
- A pencil and ruler
- Decorative or recycled papers
- A small selection of washi tape, lace or ribbon
Look around your home before buying anything. Old envelopes, packaging, book pages, paper bags, maps, sheet music and greeting cards can all become useful journal materials.
3. Choose a Simple Colour Palette
Selecting three or four coordinating colours will help your first journal feel connected. For example, you might combine warm cream, sepia, muted sage and dusty rose.
Your materials do not need to match perfectly. Slight differences in colour and texture give a junk journal its handmade charm. However, limiting your palette at the beginning can prevent the pages from becoming visually confusing.
4. Prepare Papers Before Gluing
Arrange your papers loosely on the page before attaching anything. Move the pieces around until the layout feels balanced.
Begin with the largest background paper, add one medium-sized focal image and finish with one or two smaller details. Leaving some empty space gives you room to write later.
You can tear paper edges for a softer appearance or use scissors for a cleaner finish. Slightly inking or distressing the edges is optional—not a requirement.
5. Create One Easy Page
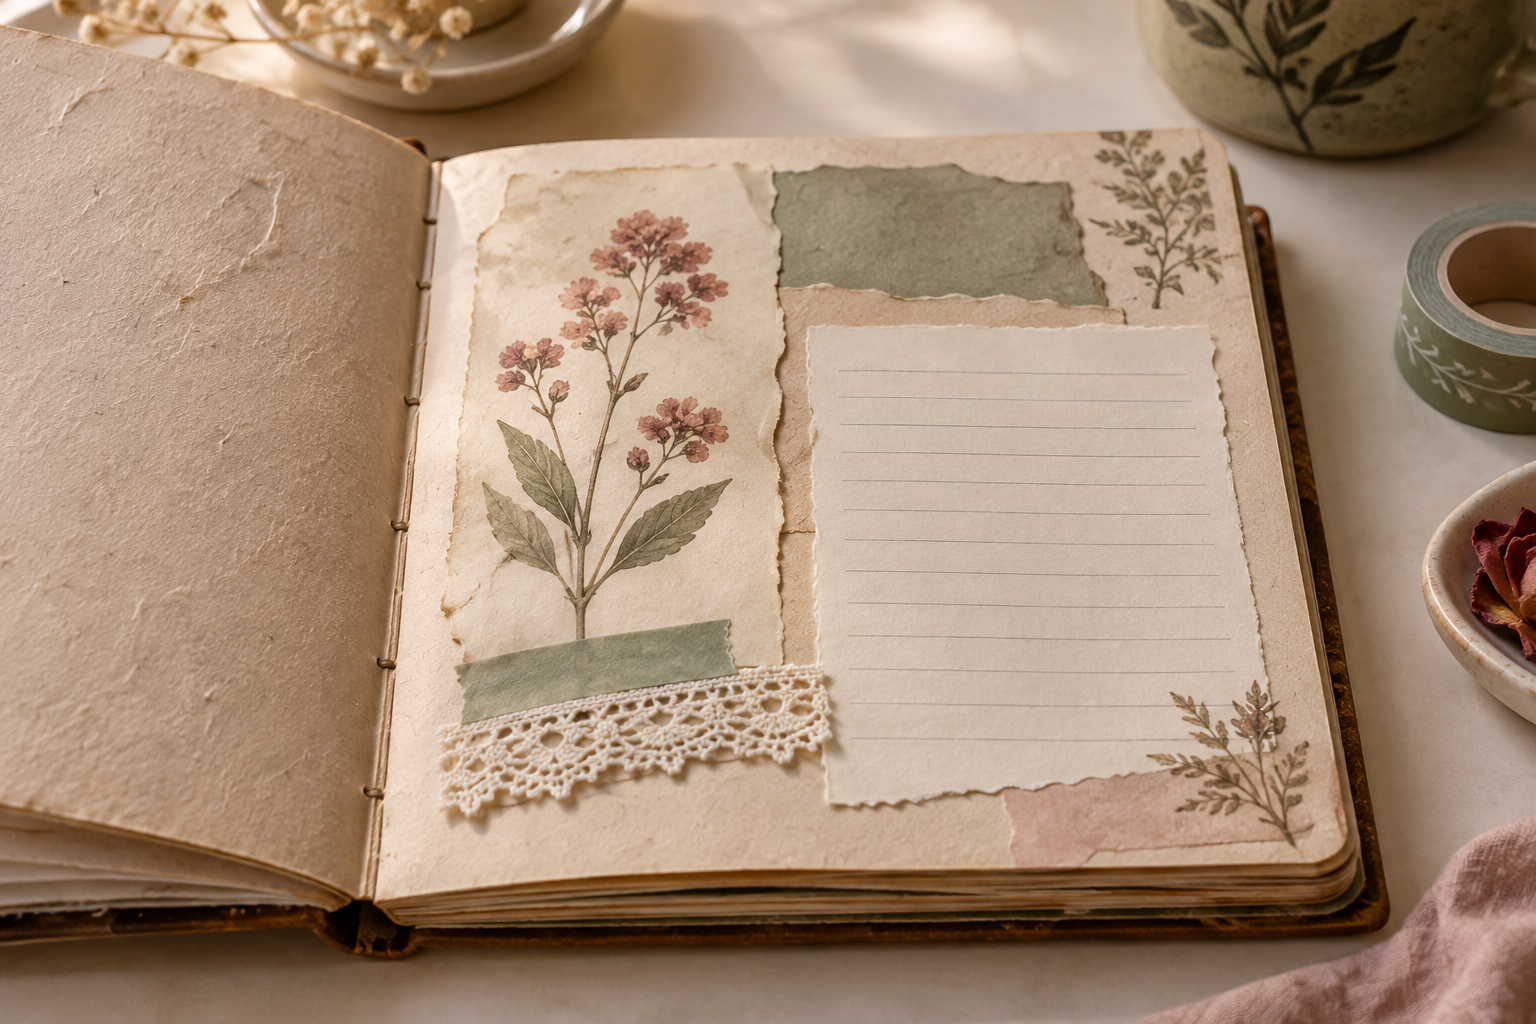
For your first page, glue down a piece of neutral paper. Add a botanical image, a strip of lace or washi tape and a small piece of lined paper for journaling.
That is enough. You do not need to fill every corner or use every technique at once.
Give Yourself Permission to Experiment
Your first junk journal does not need to be perfect. Uneven edges, visible stitching and unexpected combinations are part of its character. Try pockets, tags and folding pages gradually as your confidence grows.
The best first step is simply to open your journal, choose one favourite piece of paper and begin.
Explore printable journal kits →